docker相关
1.下载docker for windows
2.安装docker的步骤就不多说了,下一步下一步就行,安装之前记得先将windows自带的hyper-v开启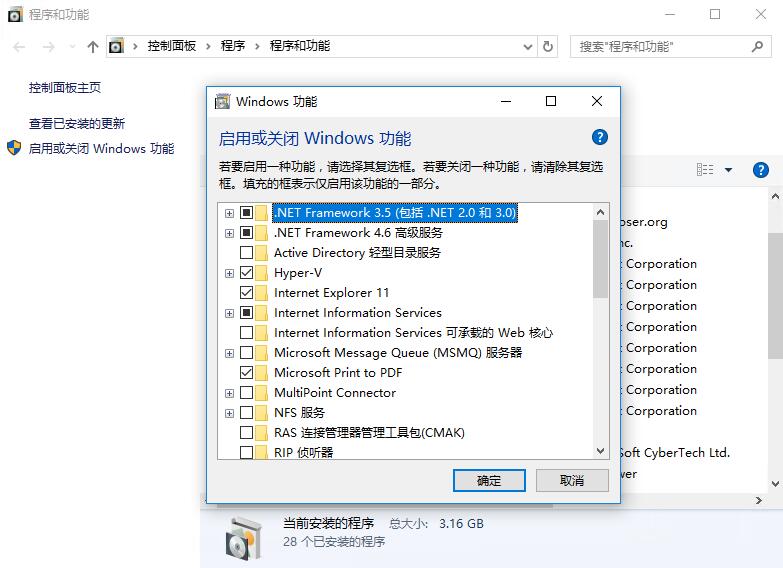
3.配置docker
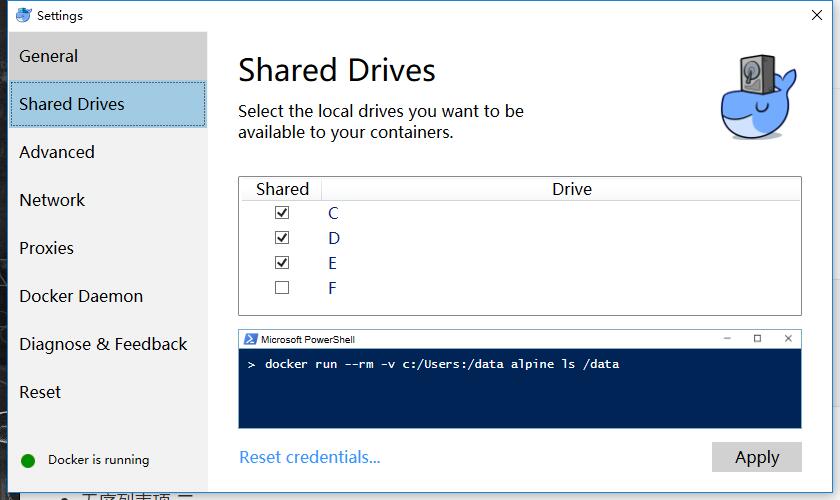
- 设置共享磁盘
- 配置镜像仓库地址为阿里云(非必须)
- 1.在阿里云镜像仓库中申请自己的加速器
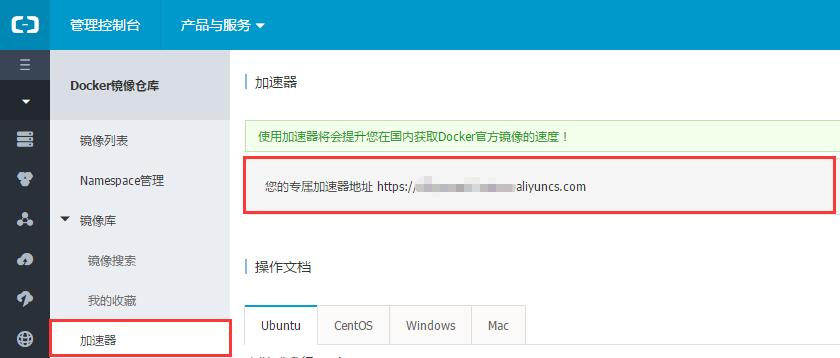
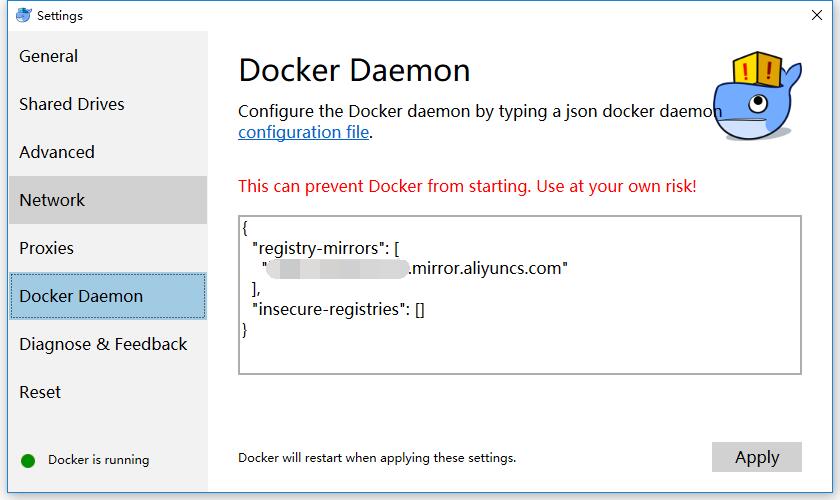
- 2.在docker中配置仓库地址,右键右下角docker中的设置功能进行设置
- 1.在阿里云镜像仓库中申请自己的加速器
上面配置成功后,接下来进行docker的常用操作
4.打开windows的cmd或者git bash;
- 输入docker,出现下列信息表示安装成功
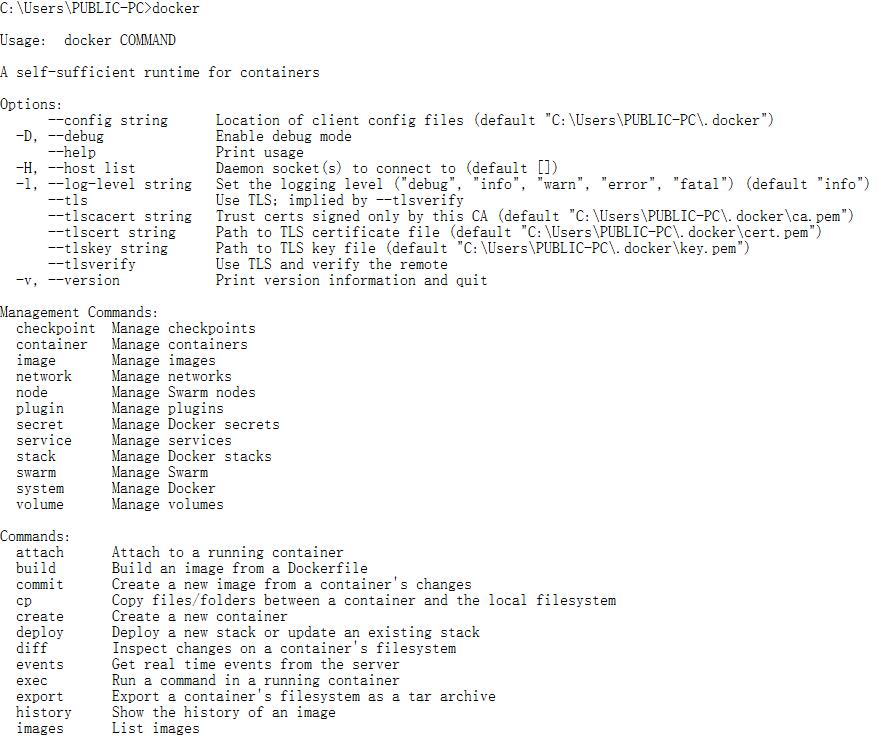
5.docker命令
- attach Attach to a running container # 当前 shell 下 attach 连接指定运行容器
- build Build an image from a Dockerfile # 通过 Dockerfile 定制镜像
- commit Create a new image from a container’s changes # 提交当前容器为新的镜像
- cp Copy files/folders from the containers filesystem to the host path
# 从容器中拷贝指定文件或者目录到宿主机中 - create Create a new container # 创建一个新的容器,同 run,但不启动容器
- diff Inspect changes on a container’s filesystem # 查看 docker 容器变化
- events Get real time events from the server # 从 docker 服务获取容器实时事件
- exec Run a command in an existing container # 在已存在的容器上运行命令
- export Stream the contents of a container as a tar archive
# 导出容器的内容流作为一个 tar 归档文件[对应 import ] - history Show the history of an image # 展示一个镜像形成历史
- images List images # 列出系统当前镜像
- import Create a new filesystem image from the contents of a tarball
# 从tar包中的内容创建一个新的文件系统映像[对应 export] - info Display system-wide information # 显示系统相关信息
- inspect Return low-level information on a container # 查看容器详细信息
- kill Kill a running container # kill 指定 docker 容器
- load Load an image from a tar archive # 从一个 tar 包中加载一个镜像[对应 save]
- login Register or Login to the docker registry server
# 注册或者登陆一个 docker 源服务器 - logout Log out from a Docker registry server # 从当前 Docker registry 退出
- logs Fetch the logs of a container # 输出当前容器日志信息
- port Lookup the public-facing port which is NAT-ed to PRIVATE_PORT
# 查看映射端口对应的容器内部源端口 - pause Pause all processes within a container # 暂停容器
- ps List containers # 列出容器列表
- pull Pull an image or a repository from the docker registry server
# 从docker镜像源服务器拉取指定镜像或者库镜像 - push Push an image or a repository to the docker registry server
# 推送指定镜像或者库镜像至docker源服务器 - rename Rename an existing container
- restart Restart a running container # 重启运行的容器
- rm Remove one or more containers # 移除一个或者多个容器
- rmi Remove one or more images
# 移除一个或多个镜像[无容器使用该镜像才可删除,否则需删除相关容器才可继续或 -f 强制删除] - run Run a command in a new container
# 创建一个新的容器并运行一个命令 - save Save an image to a tar archive # 保存一个镜像为一个 tar 包[对应 load]
- search Search for an image on the Docker Hub # 在 docker hub 中搜索镜像
- start Start a stopped containers # 启动容器
- stats Display a stream of a containers’ resource usage statistics
- stop Stop a running containers # 停止容器
- tag Tag an image into a repository # 给源中镜像打标签
- top Lookup the running processes of a container # 查看容器中运行的进程信息
- unpause Unpause a paused container # 取消暂停容器
- version Show the docker version information # 查看 docker 版本号
- wait Block until a container stops, then print its exit code # 截取容器停止时的退出状态值
6.到此windows for docker 安装了解完成,下面进行容器的运行
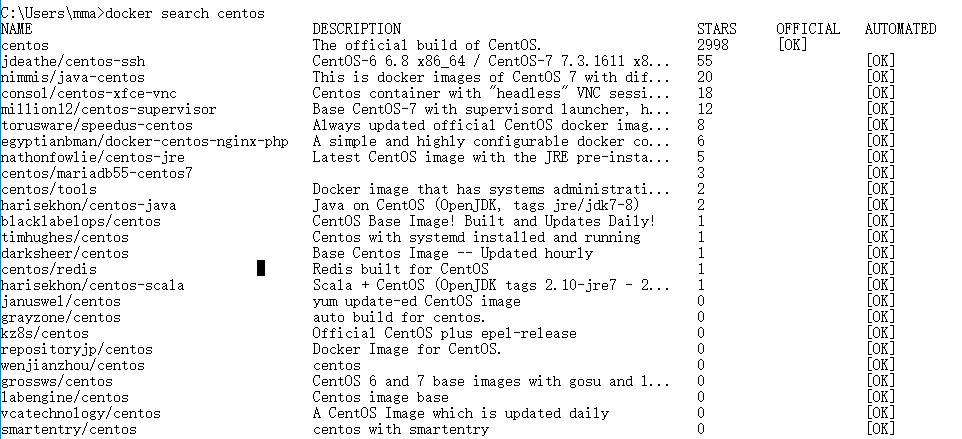
- 查找镜像
docker search centos
- pull一个镜像
docker pull centos


- 将这个镜像启动成为一个容器,并映射端口、挂在本地的目录、后台启动、赋予最高权限
docker run -it -d --privileged=true --name www -p 33060:3306 -p 220:22 -p 8080:80 -v e:\WWW\:/home/www centos /usr/sbin/init
解释一下主要参数的意义:
- -d 以daemon方式运行
- –privileged=true 增加权限的选项(本人未测试)
- –name 给运行的容器起别名(个人理解)
- -p 33060:3306 -p 220:22 -p 8080:80 进行端口映射
- -v e:\WWW:/home/www 挂载宿主机的www目录到容器内部的www目录
- 运行后查看容器运行列表

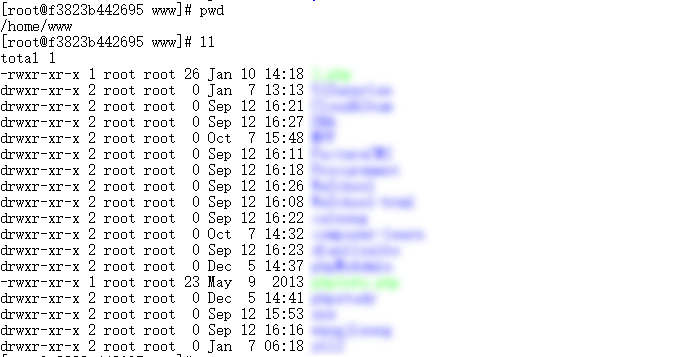
- 进入容器并查看

主要是查看挂在的目录是否存在
 )
)
和本地目录一致,挂在成功!
7 安装ifconfigyum install net-tools –y
8 安装压缩解压缩yum install -y unzip zip
9 安装firewall-cmdyum install firewalld systemd –y
10 修改密码passwd
11 安装ssh服务,使用工具与容器内进行通讯和管理
1 . 安装ssh服务
yum install openssh*2 . 配置ssh
vi /etc/ssh/sshd_config这里我没有设置,因为是初学,使用的默认配置,如果需要设置,请参考下面的说明
设置這些设定是一些比较基本的
首先先把port改掉
port 52041
再来是限定登入者
AllowUsers 使用者账号1 使用者账号2 …..
这一行在设置中是沒有的~请自行加入
再来把这两行的注释掉
PermitEmptyPasswords no
PasswordAuthentication yes
再来限制root账号登录3 .重启
systemctl restart sshd.service4 .设置为开机启动
sudo systemctl enable sshd.service5 .开放防火墙端口
firewall-cmd --permanent --zone=public --add-port=22/tcp6 . 重启防火墙
firewall-cmd --reload
最后输入netstat -ant 看看PORT有沒有加入监控中CentOS 7 的最小安装未把 netstat 安装进去,所以如果执行失败请输入
sudo yum install net-toolsyum install firewalld systemd -y
测试环境下也可以彻底关闭防火墙关闭防火墙
CentOS 7.0默认使用的是firewall作为防火墙
firewall:
systemctl start firewalld.service#启动firewall
systemctl stop firewalld.service#停止firewall
systemctl disable firewalld.service#禁止firewall开机启动
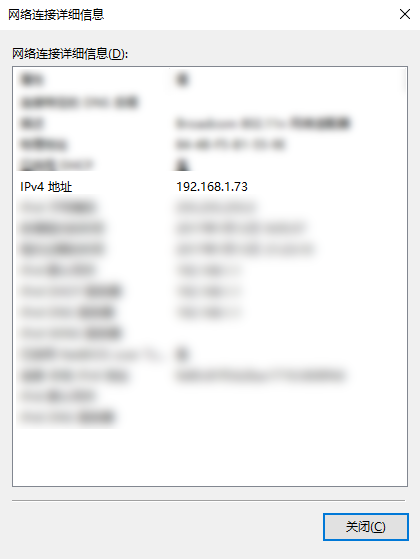
12.测试ssh连接
记住我们的端口映射好220=>22 8080=>80 33060=>3306
直接上图
- 查看本机ip
- 使用220端口连接容器
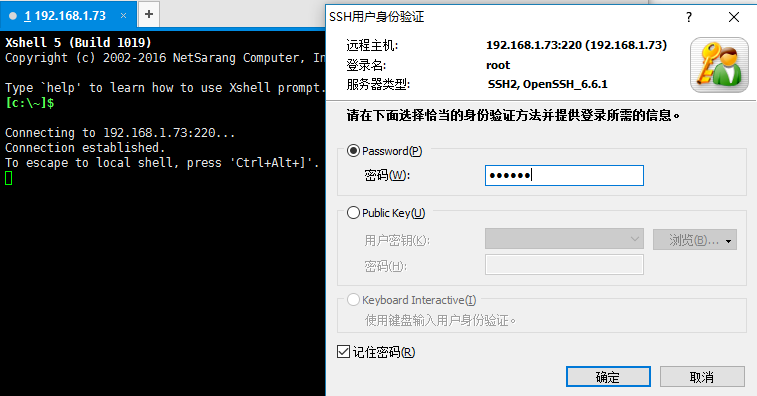
- 连接成功查看
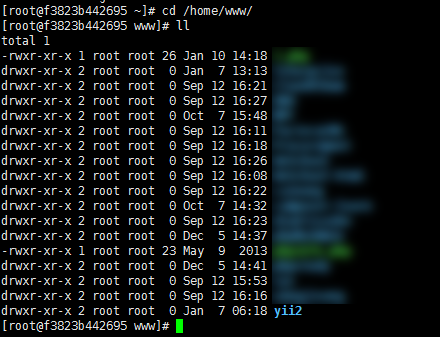
13.将容器保存为镜像
先退出容器,拿到需要保存为镜像的容器iddocker commit -m='ssh_network_vim' --author='mma' f3823b442695 ssh_network_vim
- -m 创建的镜像的提交信息
- –author指定镜像作者,接着是容器ID、目标镜像仓库、镜像名

ok,docker在windows上面的安装设置就到这里,下面进行lnmp环境的搭建
下面进行lnmp 环境的搭建
安装lnmp
请移步此教程:CentOS7☞lnmp环境搭建
正式使用
之前我安装过一次,并且配置完成提交到阿里云的仓库中了,这次的演示,我直接从阿里云下载之前我使用的镜像
1.下载镜像
- 镜像信息
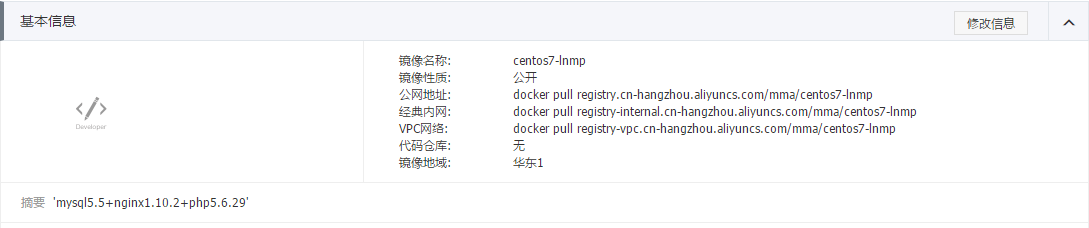
- 下载镜像
docker pull registry.cn-hangzhou.aliyuncs.com/mma/centos7-lnmp:v1.0.0


2.运行一个容器,并进入进入容器docker run -it -d --privileged=true --name www -p 33060:3306 -p 220:22 -p 8080:80 -v e:\WWW\:/home/www 84901c8f883b/usr/sbin/init
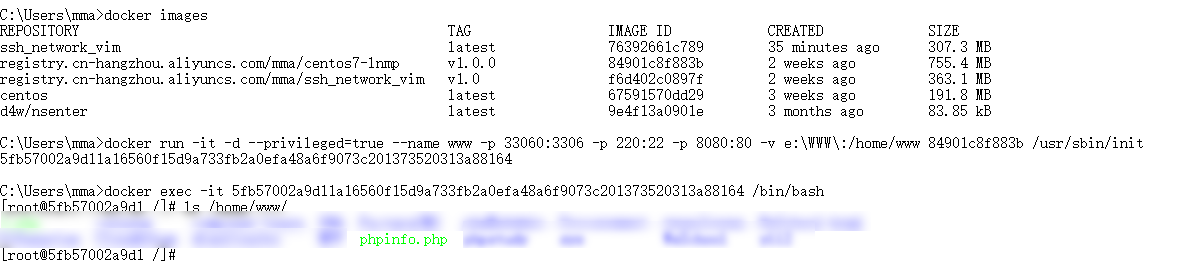
3.启动lnmp
4.windows访问容器中的项目
ok,这篇总结就到这里,总结下,写这篇总结收获很多,第一次使用hexo,第一次在windows环境模拟linux环境(纯属zhuangb用),阿里云方面,第一次使用markdown。。。 说实在的,还是很有感触,也是个开始,继续加油下去吧!mafuntoo